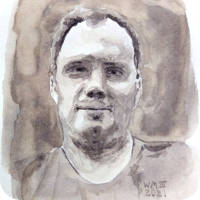
How I Painted This - Thinking Boy
Painting people from photos and getting the skin tones right is difficult. Here is how I painted "Thinking Boy".
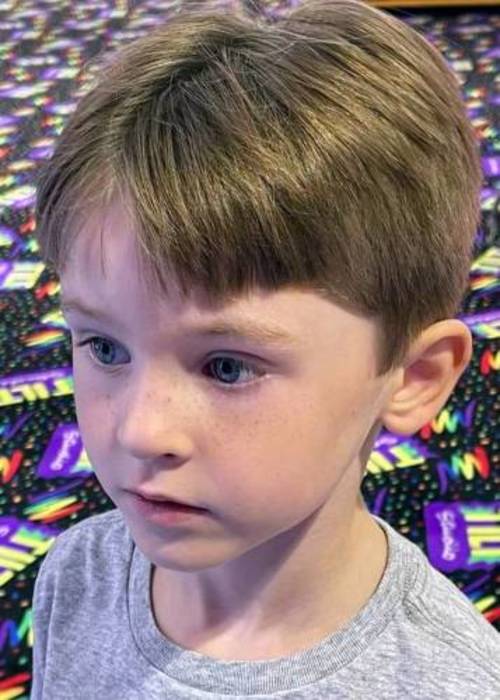
As a surprise gift, I decided to try and paint a portrait of a friend's son from a photo she sent.
I really like doing these as a "surprise gift". I find it strikes a balance between "trying to make a great painting" and "if it doesn't work out, I don't have to give a gift".
So all of the encouragement of giving a wonderful gift, without any guilt of failure!
First thing I did was to run the photo through the really helpful (and completely free!) Value Study Buddy to get some reduced color images for a value study. This one has eight values of gray.

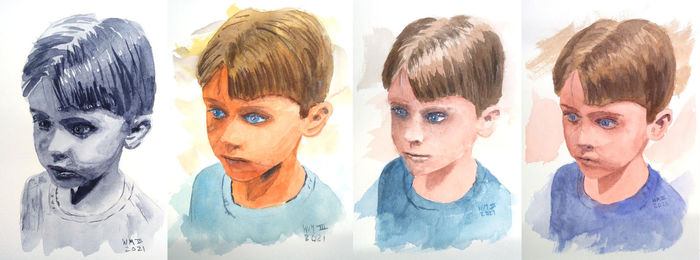
So I then proceeded to paint a value study using Daniel Smith Payne's Gray in my watercolor journal. The watercolor journal is pulp, not cotton, so the paint tends to lift a bit with multiple layers.
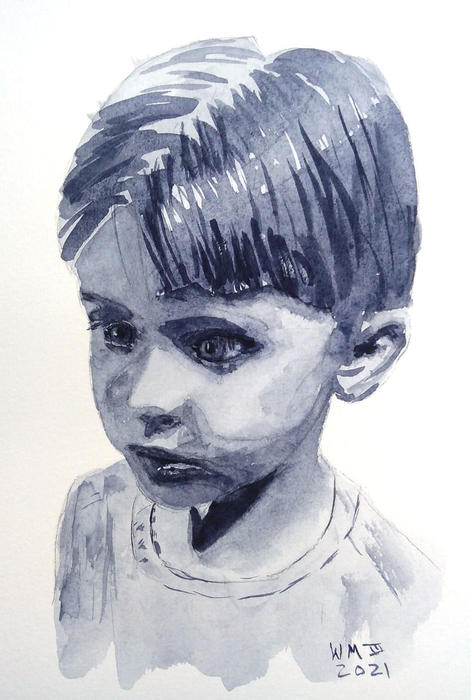
This video is about 10x speed up of the original process.
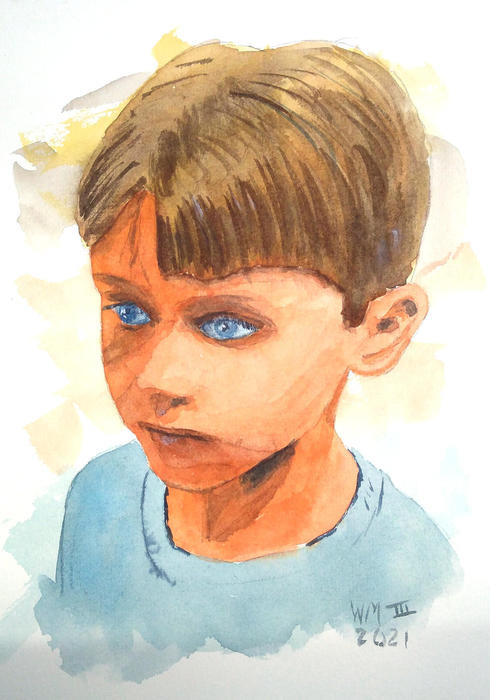
After this, I wanted to try a color version. But I could not get the skin tone correct. It came out entirely too orange. The photo does not reflect how orange it really looks in person.
After watching a few videos and finding a really helpful site about skin tones that gave examples with Daniel Smith paints, I decided to try again.
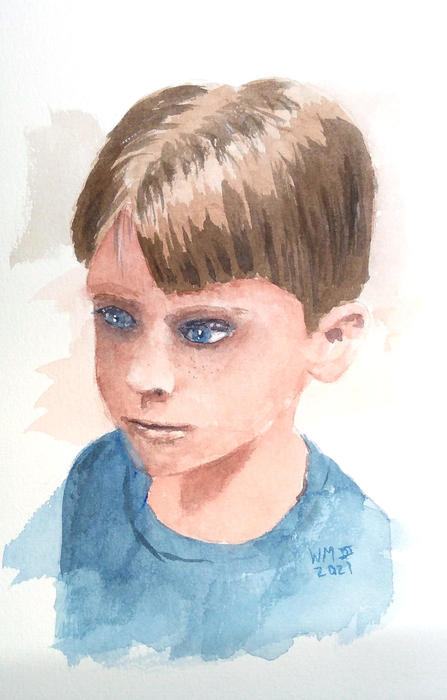
I find the skin tones to be much more accurate, but I seemed to have messed up the likeness a bit. It is close, but not as good as the previous two attempts.
This video is 10x speed up of the painting process.
I decided to give it one more try. The lack of likeness was bothering me. Plus I wanted to make the skin tone a little more red, as I felt the third attempt was too pale.
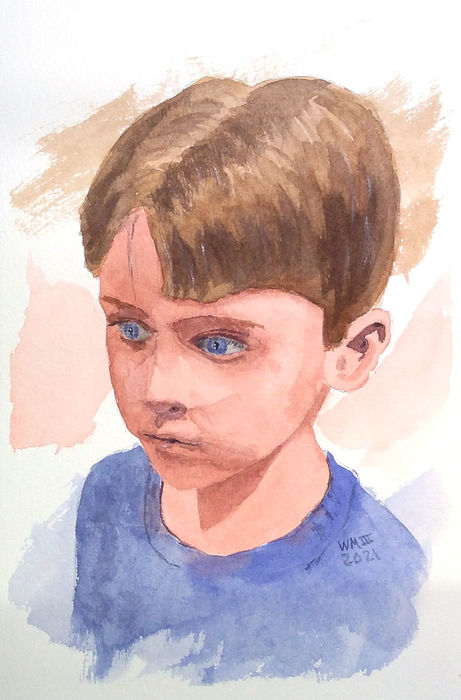
I am pretty happy with this one, even though I had to fight the paper a little. It would not let me lift or blend very easily.
I took more time around the eyes. I also used more of a purple mix instead of a dark gray to darken around the eyes. Looks much more natural that way to me.
I believe this one will be used as the surprise gift.
This video is 10x speed up of the painting process.
So that is how I painted "Thinking Boy".
Feel free to give the free Watercolor Tools a try.
Happy painting!
Tags: howipaintedthis, boy, portrait, watercolor